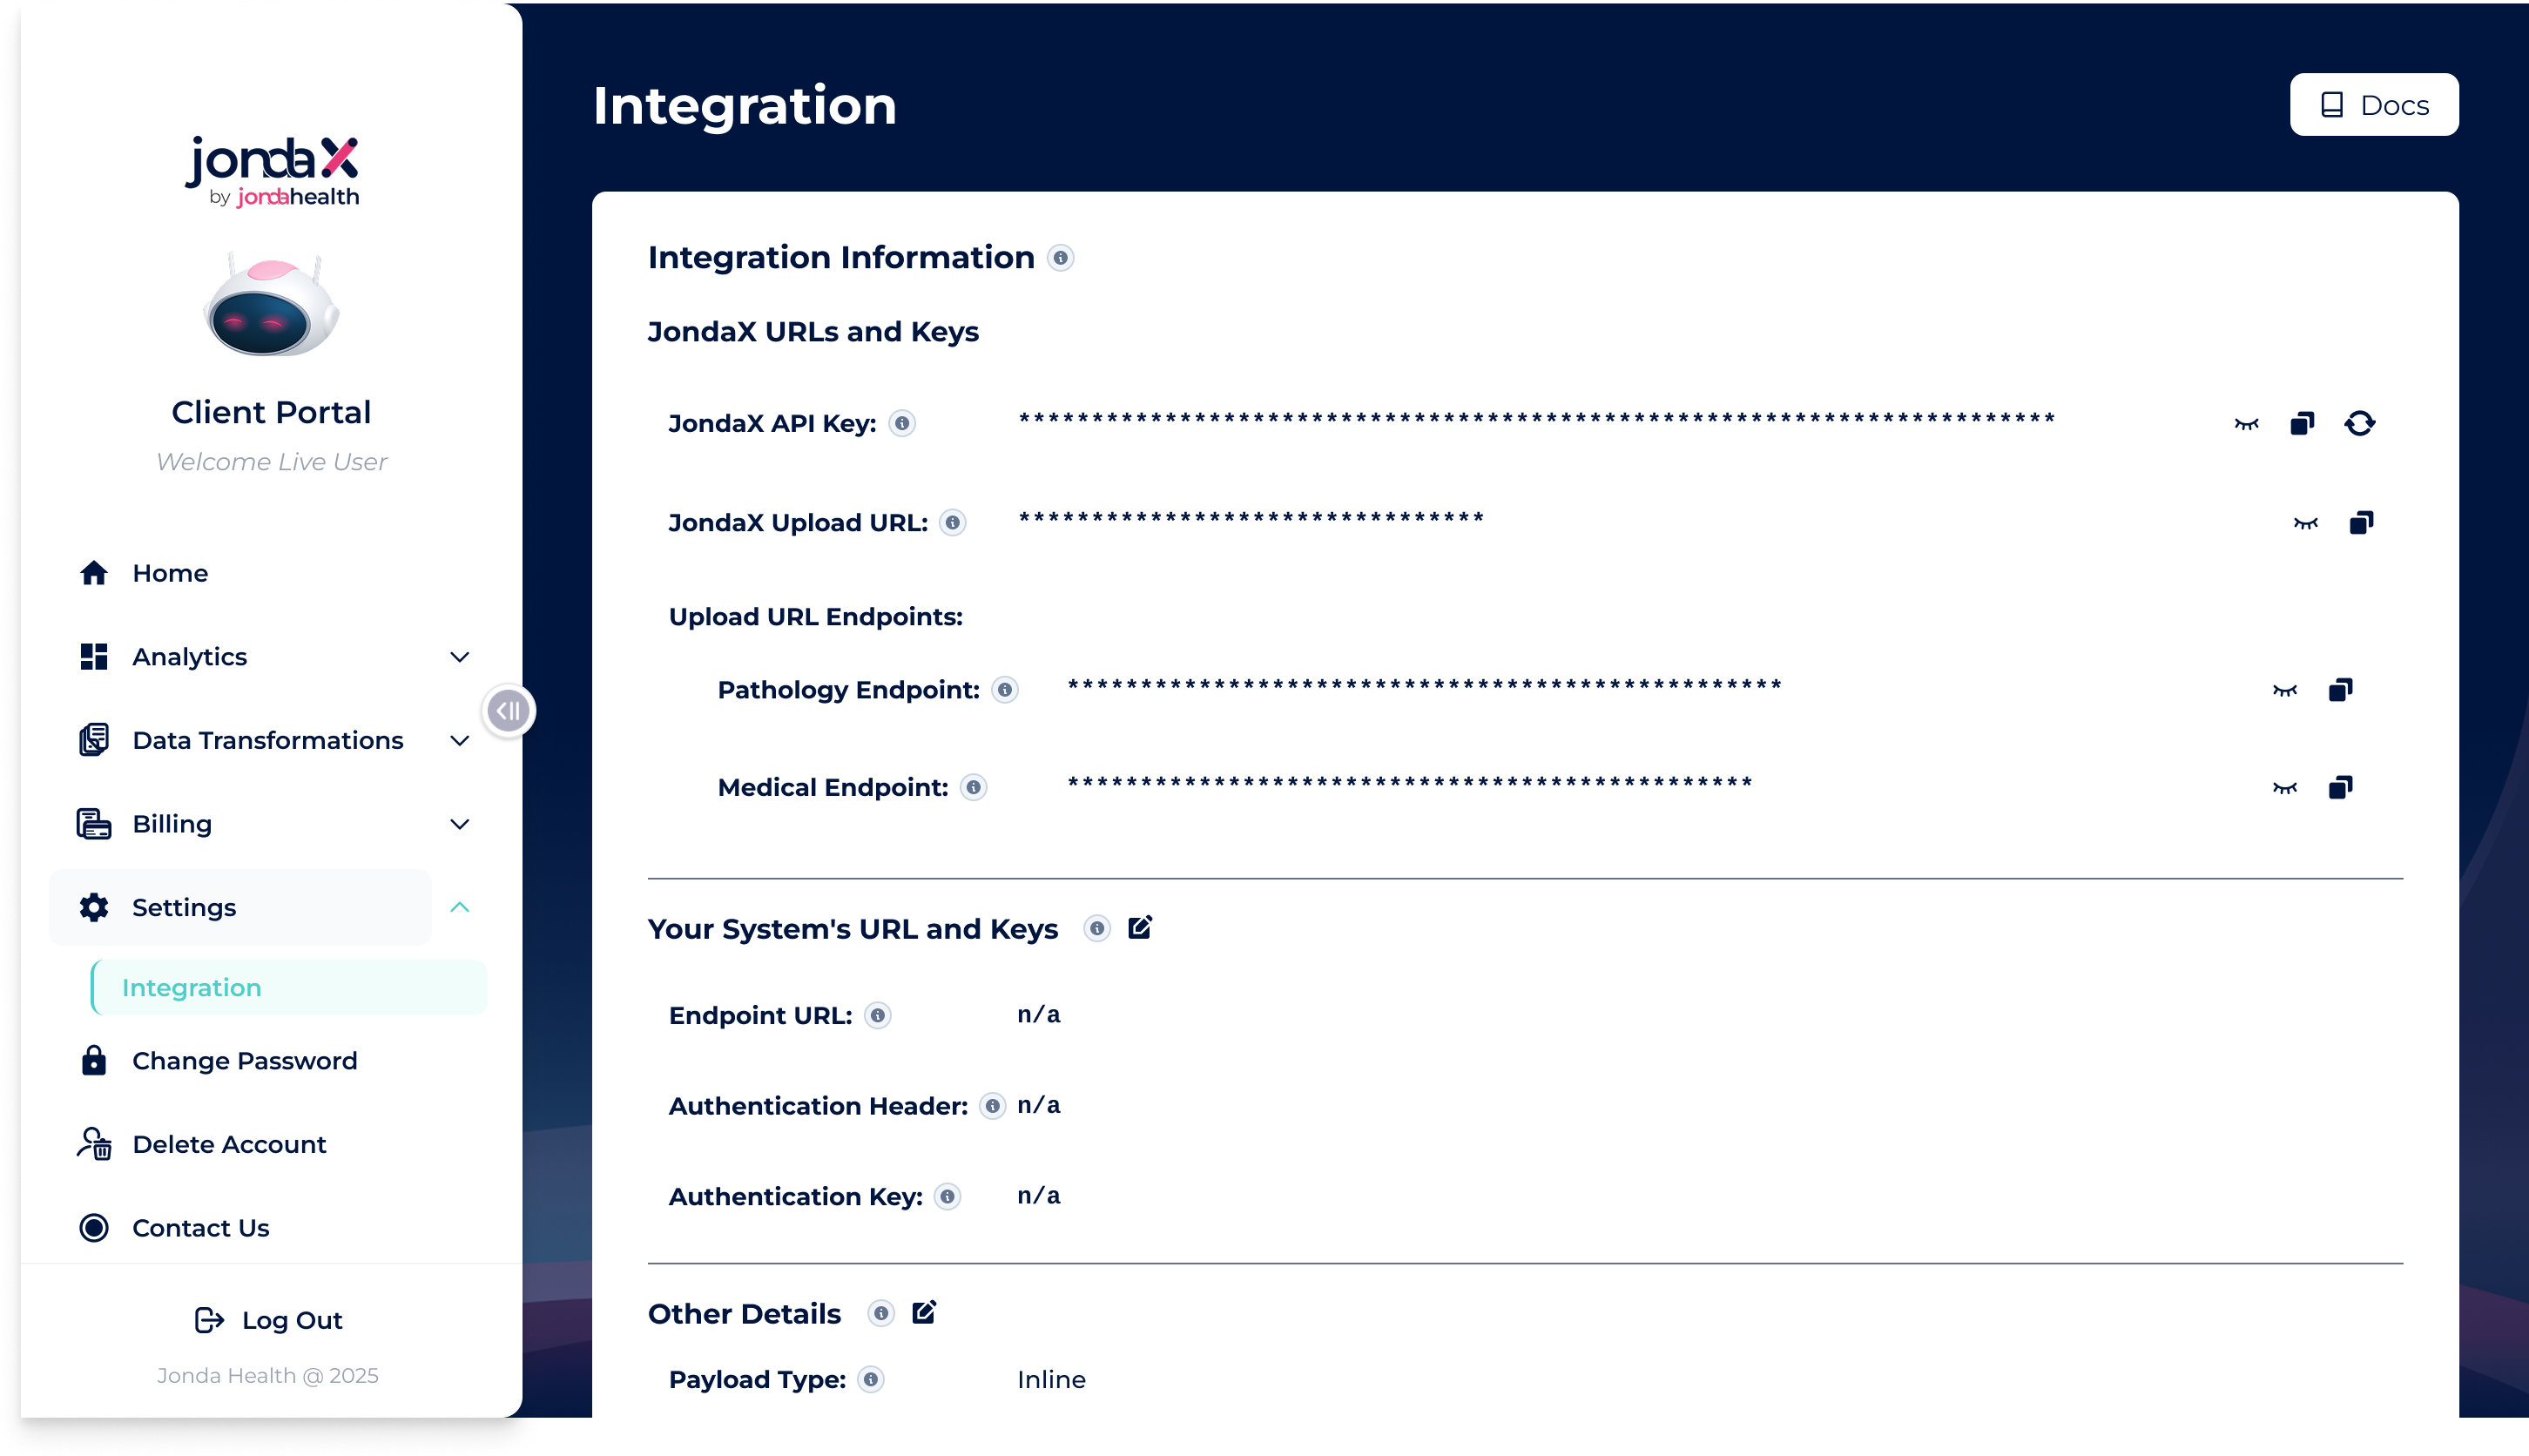
Make sure you have completed these steps on the Integration page in your JondaX client portal before uploading files.
| Step | What to do | Where to find it | Required? |
|---|---|---|---|
| 1 | Log in to the JondaX client portal | app.jondax.eu | Yes |
| 2 | Copy your API key | Integration page → API Key section | Yes |
| 3 | Set your Callback URL | Integration page → Endpoint URL | Optional — only if you want results delivered to your server |
| 4 | Choose your output language (English, Spanish, German, Chinese) | Integration page → Output Settings | Yes (default: English) |
| 5 | Choose your output format (JSON, HL7, FHIR, etc.) | Integration page → Output Settings | Yes (default: Inline JSON) |
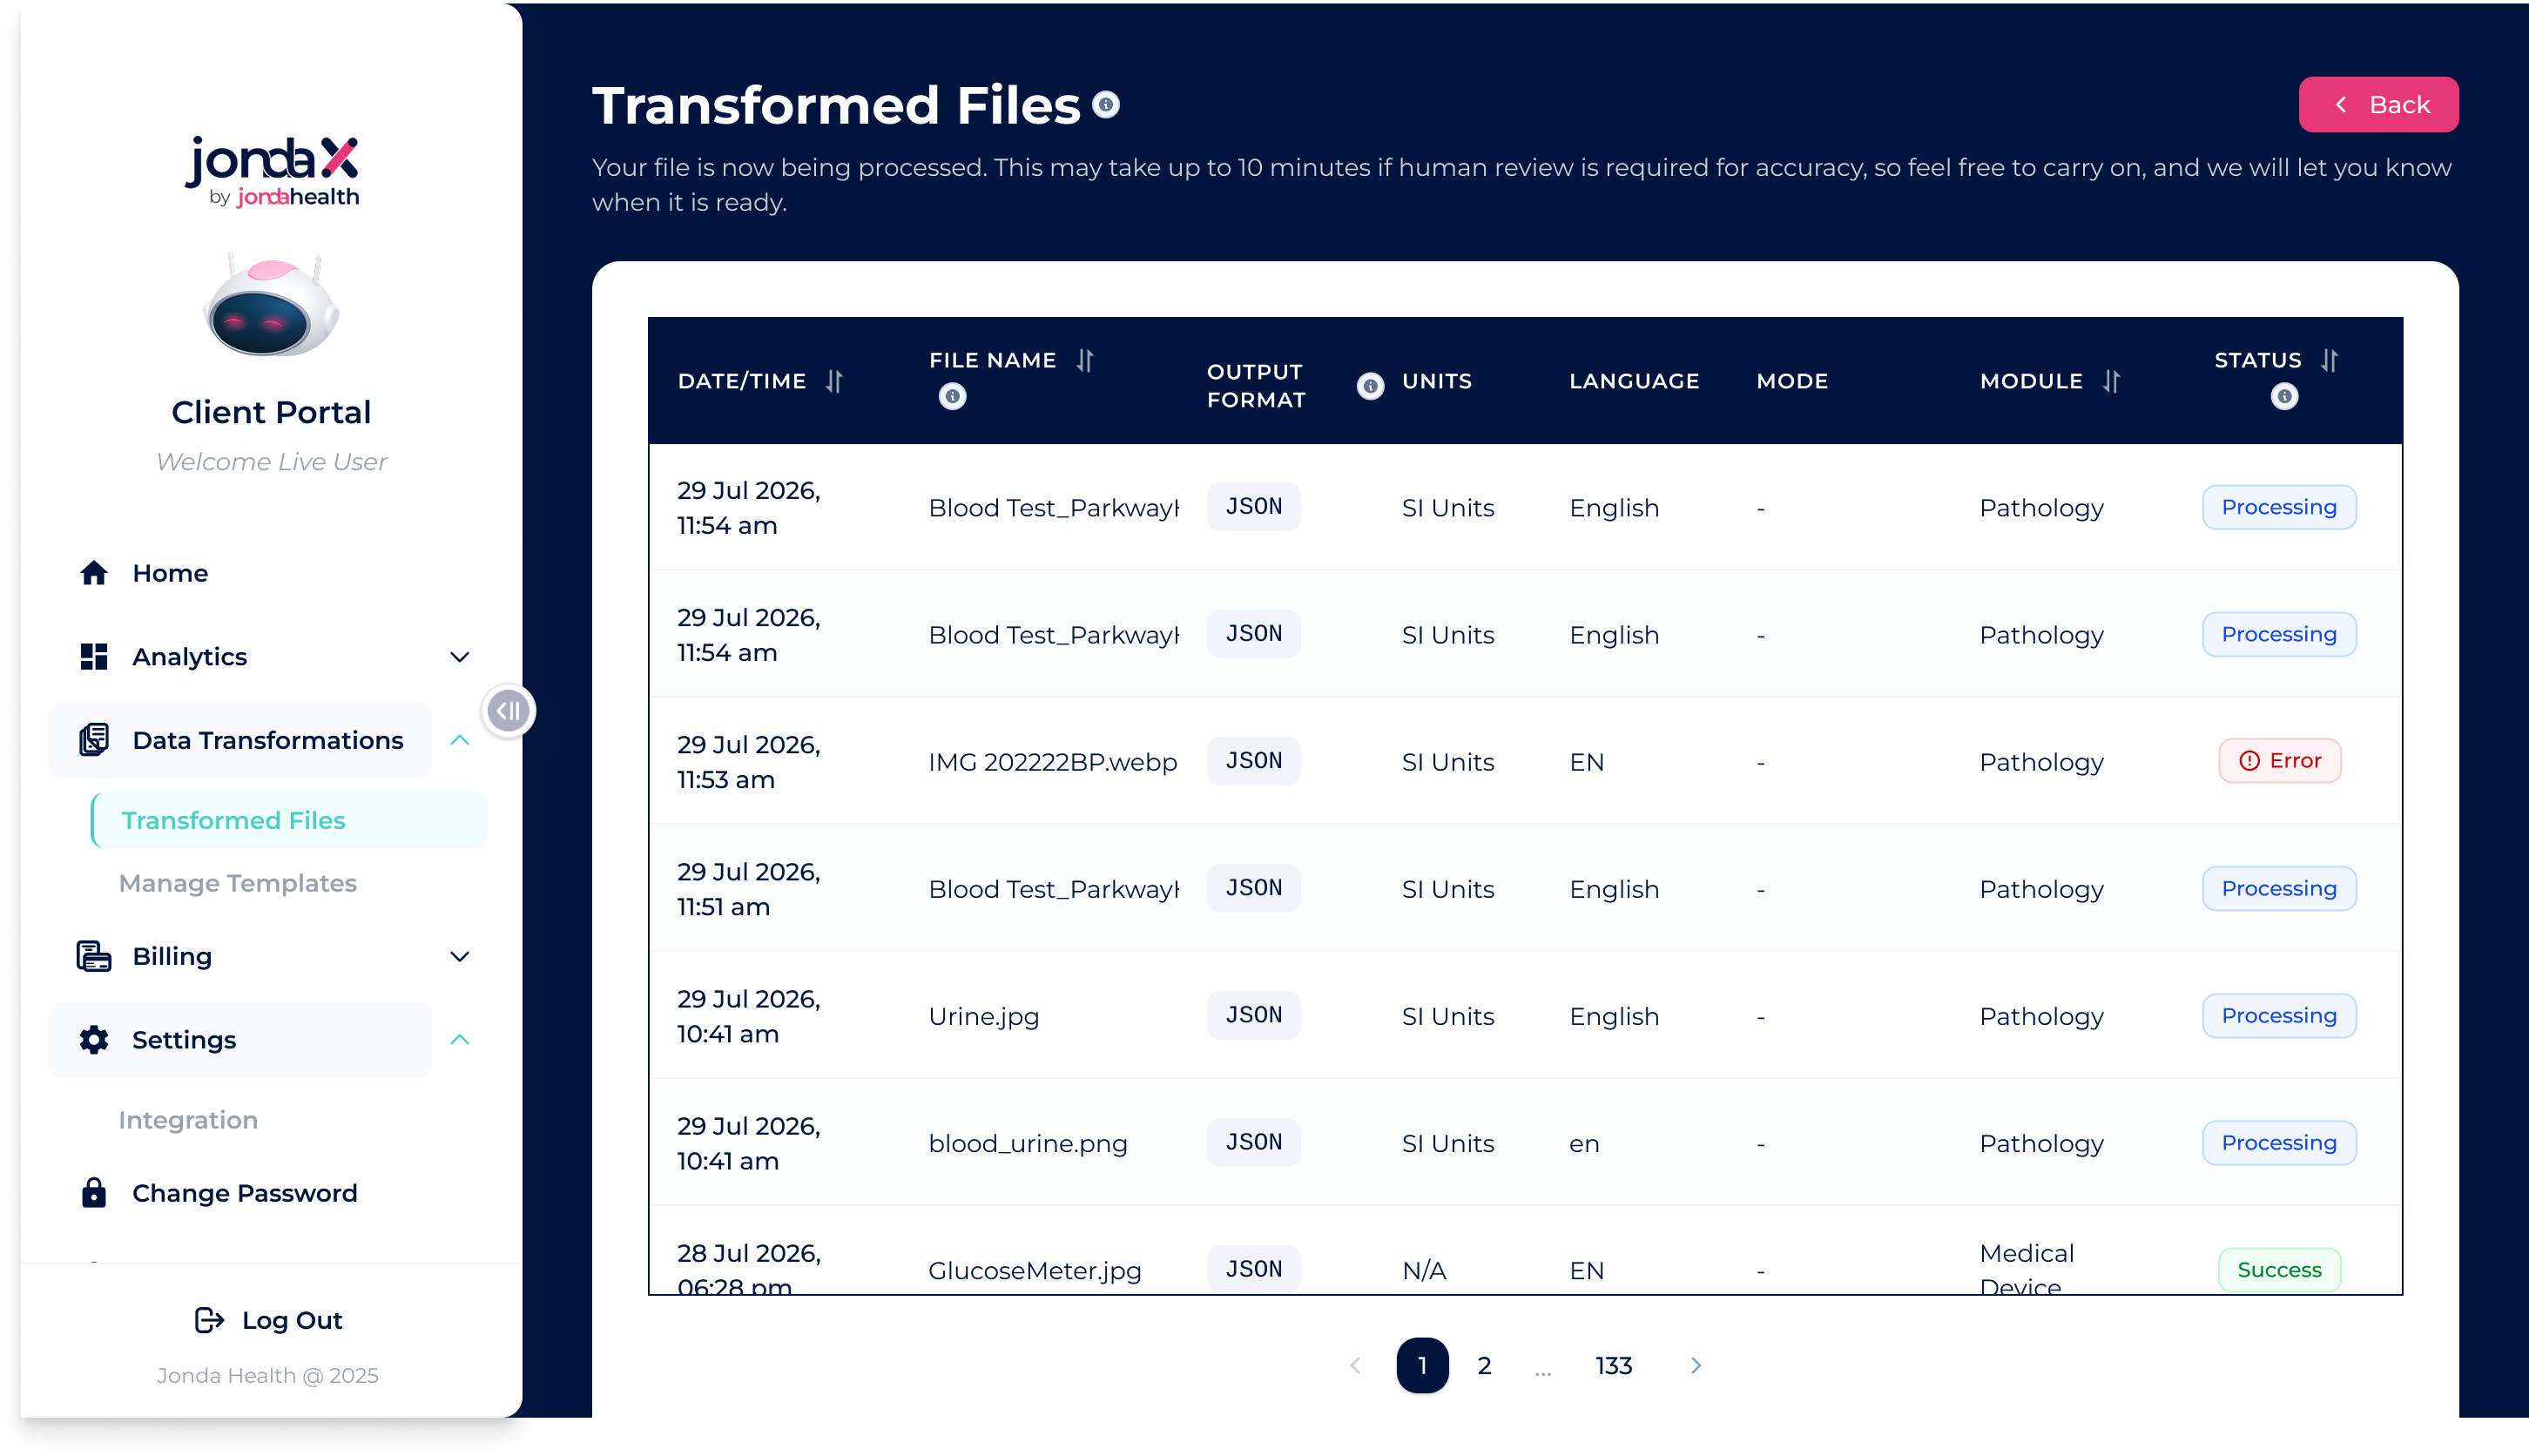
Don't want to set up a callback? That's fine. You can skip step 3 and download your processed files directly from the Transformed Files page in the portal instead.
If you only use the Medical Device module, steps 3 and 4 don't apply — results are returned immediately in the API response.
Use the API for automated, high-volume, or server-to-server integrations.
New to curl? The commands below are run in your computer's terminal — on Mac open the Terminal app, on Windows open Command Prompt or PowerShell. Copy the command, replace the placeholder values (your API key and file path), and press Enter. If you'd rather skip the terminal entirely, use the Upload Widget tab instead.
Retrieve your API key from the Integration section under Settings in the JondaX client portal.

On the Integration page, set your Endpoint URL and optionally an authentication header name + value so JondaX can authenticate with your server.

Need a test lab report? Download our synthetic, non-PHI sample documents to test the API immediately:
- 📄 sample-lab-Haematology.pdf (PDF)
- 🖼️ sample-lab-CBC.png (CBC Image)
- 🖼️ sample-lab-blood_urine.png (Blood & Urine Panel Image)
Or explore all test documents on the Sample Files page.
Send your lab report (PDF or image) using a multipart form request. Replace <JONDAX_API_KEY> with your actual API key and update the file path to point to your document.
curl --location 'https://app.jondax.eu/api/master?module=pathology' \
--header 'Authorization: Bearer <JONDAX_API_KEY>' \
--form 'deviceImage=@"/path/to/lab-report.pdf"'The API responds immediately with an UploadId for each uploaded file:
{
  "success": true,
  "data": {
    "type": "pathology",
    "status": "uploaded",
    "uploads": [
      {
        "uploadId": "<uploadId>",
        "fileName": "E46UNRB_96dpi_1.png",
        "message": "File uploaded successfully"
      }
    ],
    "filesCount": 1,
    "message": "1 pathology file(s) uploaded successfully"
  }
}JondaX POSTs the structured output to the Endpoint URL you configured. The format (JSON, HL7, FHIR, CSV, Parquet) depends on your Integration settings. See Callback Payloads.
Alternatively, you can retrieve the transformed results directly within 30 days from uploaded time via the Result Retrieval API:
curl --location 'https://app.jondax.eu/api/v1/results/<UploadId>' \
--header 'Authorization: Bearer <JONDAX_API_KEY>'
You can also download the transformed files from the Transformed Files page in the client portal.